
Use Image Kit while this guide is open
Compress, convert, and optimize the same image assets discussed in this guide.
Geographic Note: Image compression techniques are universal and apply globally.
Years of Compressing Images Wrong: The Lesson
I used to think image compression was simple. Export at lower quality, done. Then I'd look at the result and wonder why my crisp product photo now looked like it was taken with a potato. The problem isn't compression itself. It's doing it wrong. And I did it wrong for years.
Why File Size Even Matters
First time I uploaded a 4MB image to a website, I didn't think twice. Then someone on a phone tried to load it. Took 8 seconds. They left before the image even showed up.
Page speed matters for SEO, sure. But more importantly, people are impatient. If your image takes more than 2 seconds to load, you've probably lost them.
For ads specifically? Google will literally penalize your quality score if your files are huge. Slower load time = lower ad rank = more money wasted.
So yeah, file size matters. But not at the cost of quality.
File Size Impact on User Experience & SEO

| File Size | Load Time (4G) / Load Time (3G) | User Bounce Rate / SEO Impact | Google Ads Score / User Experience |
|---|---|---|---|
| 50-100KB | <0.5 sec / ~1 sec | 5% / Excellent | 10/10 / Instant, smooth |
| 100-200KB | ~1 sec / ~2 sec | 10% / Good | 9/10 / Fast, acceptable |
| 200-500KB | ~2 sec / ~4 sec | 25% / Okay | 7/10 / Noticeable delay |
| 500KB-1MB | ~4 sec / ~8 sec | 40% / Poor | 5/10 / Frustrating wait |
| 1-2MB | ~8 sec / ~15 sec | 60% / Bad | 3/10 / Most users leave |
| 2MB+ | >10 sec / >20 sec | 80%+ / Terrible | 1/10 / Unusable |
Loading diagram...
Real Cost of Large Images:
- Every extra 100KB = ~5-10% increase in bounce rate
- 3 second delay = 32% fewer conversions
- Slow ads = 20-50% higher cost per click
- Mobile users are 2x more likely to leave vs desktop
The Mistake Everyone Makes

Here's what I used to do:
- Take a 5000×5000 pixel image
- Export it as JPEG at 30% quality
- Wonder why it looked terrible
The problem? I compressed first, then resized. That's backwards.
The right way:
- Resize FIRST to the exact dimensions you need
- THEN compress
Sounds obvious now. Took me embarrassingly long to figure out.
If you need a 1200×1200 image, don't start with a 5000×5000 image and compress it down to size. Resize it to 1200×1200 first, then optimize that file.
What "Quality" Actually Means
When you export a JPEG, you usually see a quality slider. 0-100, or sometimes 0-12, depending on your tool.
Here's what I've learned through way too much trial and error:
100% quality: Huge file, minimal compression. Looks great but totally unnecessary for web use.
85-90% quality: Sweet spot for most images. File size is reasonable, quality is still excellent. This is my default.
70-80% quality: Noticeable compression if you zoom in, but looks fine at normal viewing size. Use this for smaller images or backgrounds.
Below 70%: Things start looking bad. Artifacts, weird color banding, blurry edges. Don't go here unless you're desperate.
I used to think "more quality = better always." But honestly? Most people can't tell the difference between 90% and 100% quality. They can tell the difference in load time though.
JPEG Quality Level Detailed Comparison
| Quality % | File Size (avg) / Visual Quality | Compression Artifacts / Use Cases | My Rating |
|---|---|---|---|
| 95-100% | 500KB-2MB / Perfect | None visible / Print, archives, portfolios | 4/10 (overkill web) |
| 85-95% | 150-400KB / Excellent | Minimal, imperceptible / Hero images, products, ads | 10/10 |
| 75-85% | 100-200KB / Very good | Very slight / General web images, thumbnails | 9/10 |
| 65-75% | 60-120KB / Good | Noticeable when zoomed / Backgrounds, small images | 7/10 |
| 50-65% | 40-80KB / Okay | Visible artifacts / Icons, placeholders | 5/10 |
| Below 50% | <50KB / Poor | Severe blockiness / Don't use | 2/10 |
Quality Perception Test Results:
- 100% vs 90%: 95% of people can't tell the difference
- 90% vs 80%: 70% can't tell
- 80% vs 70%: 40% notice something's off
- Below 70%: Everyone knows it looks bad
Different Images Need Different Treatment

A photo of a person and a screenshot of text are not the same thing. Compress them differently.
Photos (people, landscapes, products):
- JPEG format works great
- 80-90% quality
- Compression handles gradual color changes well
Graphics with text or sharp edges:
- PNG if you need it crisp
- Or JPEG at 90-95% quality if file size matters
- Text especially looks bad with heavy JPEG compression
Logos or illustrations:
- PNG for sharp edges and transparency
- Or SVG if possible (vector = no quality loss ever)
Screenshots:
- This one's tricky because of text
- PNG usually, or JPEG at 90%+ quality
- Compression makes text fuzzy fast
I learned this the hard way when I compressed a bunch of infographics at 70% quality. The text became unreadable. Had to redo all of them.
Image Type Optimization Guide
| Image Type | Best Format / Recommended Quality | Typical Dimensions / Target Size | Special Notes |
|---|---|---|---|
| Portrait Photos | JPEG, WebP / 85-90% | 1200×1600 / 120-200KB | Watch skin tones |
| Product Photos | JPEG, WebP / 85-95% | 1200×1200 / 150-250KB | Crisp details matter |
| Landscapes | JPEG, WebP / 80-90% | 1920×1080 / 200-350KB | Sky compression watch |
| Logos | PNG, SVG / N/A (lossless) | Variable / <50KB PNG | Use SVG if possible |
| Icons | PNG, SVG / N/A (lossless) | 512×512 max / <20KB | Transparency needed |
| Screenshots | PNG or JPEG 90%+ / 90-95% if JPEG | 1920×1080 / 200-400KB | Text must stay sharp |
| Infographics | PNG or JPEG 95% / 90-95% | 1200×2400 / 300-600KB | Text + graphics mix |
| Backgrounds | JPEG, WebP / 70-80% | 1920×1080 / 150-250KB | Lower quality OK |
| Thumbnails | JPEG, WebP / 75-85% | 400×400 / 20-50KB | Small = less visible |
| Hero Images | JPEG, WebP / 85-95% | 2400×1200 / 250-400KB | First impression matters |
My Actual Compression Workflow
This is what I do now for every image:
Step 1: Start with the best Get the highest quality source image you can. If you're taking photos, shoot in RAW. If you're using stock photos, download the largest size available.
Step 2: Edit in full quality Do all your editing – cropping, color correction, whatever – on the full quality version. Don't edit the compressed file.
Step 3: Resize to final dimensions This is crucial. If the final image needs to be 800 pixels wide, resize it to exactly 800 pixels. Don't "sort of resize it" or "resize it close enough."
Step 4: Export with appropriate compression
- Photos: JPEG, 85% quality
- Graphics: PNG or JPEG 90%+
- Check the file size
Step 5: Compress if needed If the file is still too big after export, run it through a compression tool. But honestly, if you sized it right in step 3, it's usually fine.
Step 6: Check it Open the compressed file. Zoom in a bit. Does it still look good? If no, back up and try 90% quality instead.
Compression Workflow Visualization
Loading diagram...
Tools That Don't Suck
I've tried a bunch of compression tools. Here's what I actually use:
For quick compression:
- TinyPNG – drag and drop, works great for PNG and JPEG
- Squoosh – more control over settings, good for comparing before/after
- Image Kit on this site – built it specifically for batch processing
For more control:
- Photoshop's "Export As" function – lets you preview file size and quality
- Figma's export options – clean and simple
For batch processing:
- Image Kit (shameless plug, but seriously it saves time)
- Automator on Mac for basic batch resizing
- ImageMagick if you're comfortable with command line
The tool matters less than understanding what you're doing. You can get good results with free tools if you know what settings to use.
Compression Tools Comparison
| Tool | Type / Cost | Batch & Quality Control | Formats | Rating |
|---|---|---|---|---|
| TinyPNG | Online / Free (limited) | 20 max batch, Auto quality | PNG, JPEG | 8/10 |
| Squoosh (Google) | Online/PWA / Free | Single file, Full control | All formats | 9/10 |
| Image Kit (this site) | Online / Free | Unlimited, Full control | PNG, JPEG, WebP | 10/10 |
| Photoshop Export As | Desktop / Paid $$$ | Actions batch, Full control | All formats | 10/10 |
| Figma Export | Online/Desktop / Free-Paid | Yes, Good control | PNG, JPEG, WebP, SVG | 9/10 |
| ImageMagick | CLI / Free | Unlimited, Full control | 200+ formats | 8/10 |
| ShortPixel | Plugin / Paid | Yes, Presets | All common | 7/10 |
| Compressor.io | Online / Free (limited) | Single file, Auto | PNG, JPEG, GIF, SVG | 7/10 |
My Recommendations:
- Quick web use: Squoosh or Image Kit
- Batch processing: Image Kit or ImageMagick
- Professional work: Photoshop Export As
- CMS integration: ShortPixel plugin
The WebP Question
WebP has been around for a while but I only started using it seriously this year. Google made it, so Google likes it.
Pros:
- Smaller files than JPEG at the same quality
- Supports transparency like PNG
- Loads faster
Cons:
- Not all browsers support it (though most do now)
- Some CMS platforms are weird about it
- People still ask "what's a WebP file?"
My approach: use WebP for websites and ads. Stick with JPEG/PNG for everything else.
Converting is easy – most compression tools offer WebP as an export option now.
When Compression Goes Wrong
You'll know it when you see it:
Artifacts: Weird blocky patterns, especially in areas with gradual color changes. Sky photos are the worst for this.
Color banding: Instead of smooth gradients, you get visible "bands" of color. Looks terrible.
Blurry text: Text should be sharp. If it's fuzzy, you compressed too much or need a different format.
Weird colors: Over-compression can make colors look off, especially skin tones.
If you see any of these, don't use that file. Go back and compress less aggressively.
Real Numbers From My Tests
I ran some tests last week because I was curious. Same image, different compression levels:
Original: 3.2MB, 2000×2000 pixels
Method 1 (my old way):
- Compressed at 50% quality
- Then resized to 1200×1200
- Result: 180KB, looked mediocre
Method 2 (correct way):
- Resized to 1200×1200 first
- Then compressed at 85% quality
- Result: 160KB, looked great
Smaller file AND better quality. Just because I did it in the right order.
For Ads Specifically
Google Ads has that 150KB recommendation. I used to stress about it. Now I don't.
Here's what works:
- Resize to exact Google Ads dimensions (1200×628 for example)
- Export as JPEG at 85% quality
- If it's over 200KB, run it through TinyPNG
- Usually ends up around 120-180KB
- Looks good, loads fast, Google approves it
The "under 150KB" thing isn't a hard rule anymore. I've had 200KB files approved no problem. Focus on making it look good first, file size second.
Google Ads Image Specifications & Optimization
| Ad Format | Dimensions (px) / Aspect Ratio | Max File Size / Recommended Size | Format / My Settings |
|---|---|---|---|
| Responsive Display | 1200×628 / 1.91:1 | 5MB (150KB recommended) / 120-180KB | JPG, PNG, GIF / JPEG 85%, 1200×628 |
| Square | 1200×1200 / 1:1 | 5MB (150KB recommended) / 140-200KB | JPG, PNG, GIF / JPEG 85%, 1200×1200 |
| Portrait | 960×1200 / 4:5 | 5MB (150KB recommended) / 130-190KB | JPG, PNG, GIF / JPEG 85%, 960×1200 |
| Skyscraper | 300×600 / 1:2 | 150KB / 80-120KB | JPG, PNG, GIF / JPEG 85%, 300×600 |
| Leaderboard | 728×90 / 8.09:1 | 150KB / 40-70KB | JPG, PNG, GIF / JPEG 85%, 728×90 |
| Mobile Banner | 320×50 / 6.4:1 | 150KB / 20-40KB | JPG, PNG, GIF / JPEG 80%, 320×50 |
| Thumbnail | 300×250 / 1.2:1 | 150KB / 50-90KB | JPG, PNG, GIF / JPEG 85%, 300×250 |
Google Ads Pro Tips:
- They say <150KB but 200KB works fine for main formats
- Responsive display ads resize automatically - use highest quality
- Mobile banners need extra compression (limited screen = less visible)
- Logo should be PNG with transparency
- Test on actual phone before submitting
Mobile Matters More Now
Most people see your images on phones. What looks sharp on your desktop might look blurry on a phone screen.
I always check compressed images on my phone before using them. If it looks bad on mobile, it doesn't matter how good it looks on desktop.
Also, phone screens are higher resolution now. Don't go too small with dimensions. 1200 pixels wide minimum for important images.
The 80/20 Rule
You can spend hours fine-tuning compression to save 10KB. Or you can spend 2 minutes and get 90% of the benefit.
My simple approach that works for most situations:
- Resize to exact dimensions needed
- JPEG at 85% quality
- Done
That handles 80% of cases. The other 20%? Only worry about it if you have specific needs or problems.
What I Don't Worry About Anymore
Perfect file sizes: Used to obsess over getting files to exact numbers. Now I aim for "around 150KB" and move on.
Pixel-perfect quality: Nobody's zooming in to 400% to check if there's compression artifacts. If it looks good at 100% view, it's good enough.
Using the "best" tool: They all work fine. Pick one and learn it well rather than constantly switching.
Trends: Every year someone says "this is the new best format." Use what works for you. JPEG and PNG are still fine.
When You Need More Control
Sometimes you need specific settings. Maybe you're working with print files, or very specific brand guidelines, or whatever.
In those cases, use Photoshop or similar tools where you can control:
- Compression method
- Color profile
- Exact quality levels
- Metadata
For most web stuff though? The simple approach works fine.
Final Thoughts
Compression isn't complicated once you understand the basics:
- Resize first
- Compress second
- Check the result
- Use 85% quality as your starting point
The goal isn't the smallest possible file. It's the best looking image at a reasonable file size. There's a balance.
And if you mess it up? You can always go back to your source file and try again. That's why you always keep the original, uncompressed version.
Now go compress some images. And actually check how they look on a phone.
Data Sources
This article is based on global best practices and standards:
- Image Compression: ImageOptim, TinyPNG
- Web Performance: Google PageSpeed Insights
- Image Formats: MDN Web Docs - Image Formats
Note: Tool availability, features, and best practices may vary by region. Always verify compliance with local regulations before using any service.
Related Reading
Explore more image optimization articles to improve your website performance:
- WebP vs JPEG vs PNG: Which One Should You Actually Use? - Image format comparison guide
- Image SEO: Why My Photos Started Ranking After I Fixed This - Optimize images for search engines
- Lazy Loading Images Guide: How to Speed Up Your Website - Implement lazy loading for better performance
- Responsive Images with Srcset Guide: Stop Serving Wrong Sizes - Serve optimal images for different devices
Related guides worth indexing with this article

Batch Processing 500 Images: What I Learned the Hard Way
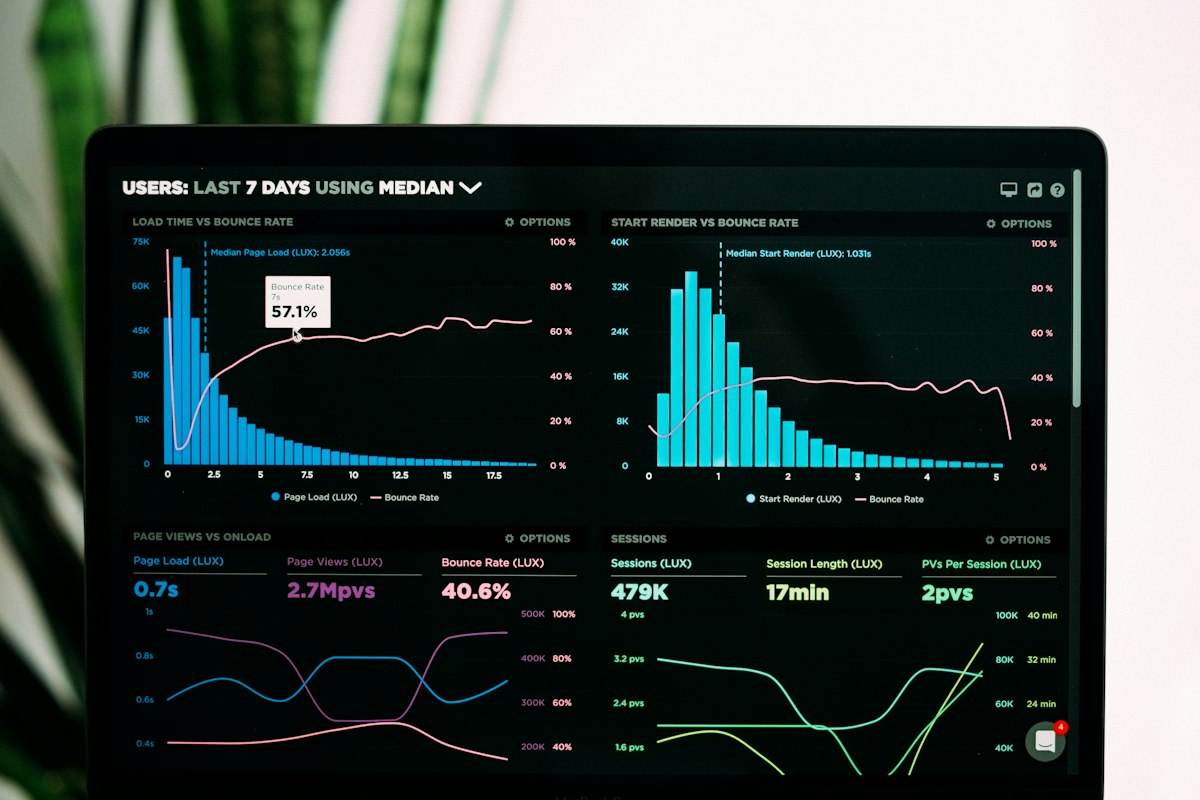
Had to process 500 product images last month. Did it wrong the first time and wasted 6 hours. Here is the right way to do it.
Lazy Loading: How Loading 100 Images Slower Made Page Load Faster
Blog had 100 images per page. Load time: 12 seconds. Added lazy loading. Load time: 2 seconds. Here is how it actually works.
Responsive Images: Why My 4K Photo Looked Terrible on Phones
Uploaded beautiful 4K photos to website. Looked perfect on desktop. Tiny and blurry on phones. Took me days to figure out responsive images.